
Guilded Fletching
Dev Blog 4
Hello again everyone hope you are having a great day today I will be talking about the level design of this game we will be discussing how the map structure works why we place a thing where we do and how we make levels from start to finish within our system. So to map it out we are going to be starting with annotated maps, move next to a block out, and end it off with how levels should look ascetically
.
So annotation maps how are we doing them? As you can see in the key above we are using a color variation to display a 3D world onto a 2D space. We also have different parts for each puzzle component that was planned for the current time. The level design team has been very consistent when it comes to making the level with this format. Here are some examples of this in practice.

This is the standard arrow tutorial this is teaching the player all the direct mechanics of the normal arrow. It is the second level of the game as the first is just to help the player move. As you can see this shows that most of the level is flat as we are more focused on teaching the player the shooting in the game there is only a small amount of platforming here.

Here we have a level that is much more focused on verticality this is because we are teaching the play how to use the warp arrow so this level is made to make everything just out of reach to the player unless they use the warp arrow to their advantage.

Finally here is a level that is for multiple arrow types as you can see the player will need to use many different types of arrows to get around the level. This is for the player to really start experimenting with the different types to complete puzzles.
Next, I want to talk about the block-out stage this is the area most of our levels are currently in. There are a few reasons we used colors to show height in the annotated maps one was so that when we moved to make the levels in the 3D space we could make them with a normal block with the different colors so we could get an overhead shot and make the levels a 1 to 1 from the annotation. Now, this had some problems when it came to making them because of how small the level we were they felt cramped when it got to the testing phase. In response to this, we are taking the annotated maps and judging each square as a 4x4 space this should make it much more comfortable for players here are a few photos of the block out phase.


You can tell just by the photos here that it is too small.
Finally, let’s go over how the levels should look in the end. First off I want to say we do not have a level in this stage so I will be showing concept art from other projects to give you the idea. So this game is set within a temple so the feeling players should get is very different than a normal outdoorsy feel. Although we are making the levels more open the player should still feel like they are crammed into a small space and we are using walls that are very modular to do this.

One of the team members went through and made sure that he made a variety of pieces that will make it so adding in the art to the level is extremely easy. So how do I want the end product to look well I can not give you that in direct words instead I am about to show you a piece of art and that is the feeling I want to convey within the levels.
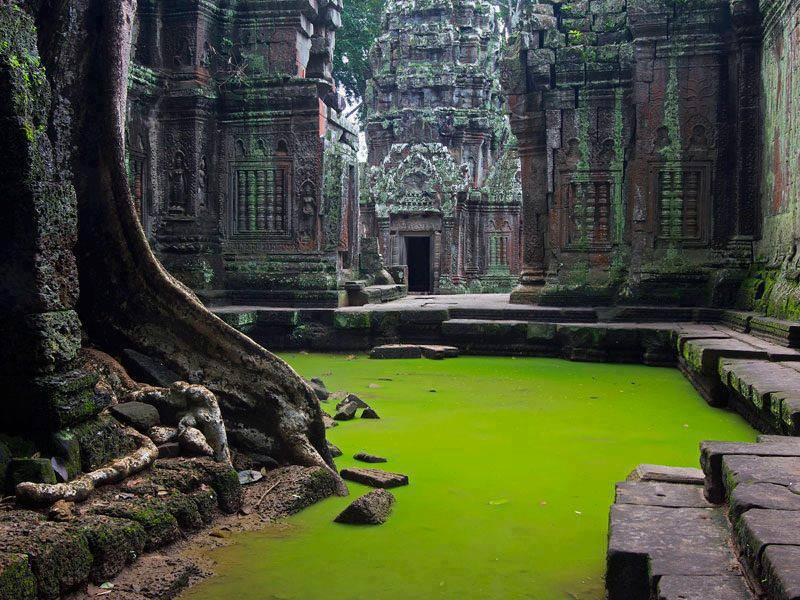
Now it’s this but imagine it at night or with a closed top. Players should feel like they are being transported to the past with this game and the world that it is within. The feeling I get from this piece is that this place was lost to time and civilization went on without it now it has secrets that need to be uncovered.
Leave a comment
Log in with itch.io to leave a comment.