Clay Striker
Design Blog 2
For this sprint, I worked on finishing the game design document, and worked on some models, including one of the most important models for this project, the shotgun. The first thing I got done was the game design document. It was almost done last sprint, but it needed a little more info before I was happy with it. It turned out to be a bit smaller than I initially expected less than 5 pages. The main reason for that is the design is very simple, being an on rails, arcade style shooter. I expect it might need updating at a later date, but for right now it has everything I think it needs.
The next thing that I did was get started on the shotgun model. I wanted to make sure I was happy with this model, since it’s very important. The player will be looking at that model for the entire time they play. I used some very specific reference, deciding to base it off of the shotgun I use, because I'm very familiar with it, and since I could get very specific angles for the reference pictures, since I took them all myself. I started with a basic outline using one of the curve tools in Maya, just getting the overall shape. I tried to extrude the edges to get the receiver and stock, but it didn’t really work the way I wanted it to. The receiver turned out well, but the stock didn’t. So, I kept the receiver, and finished it by adding the bottom faces to it. I tried a few other things involving extruding from the outline I made, but the edge loops were always messy when it came to the handle. So, I decided to work my way back from the receiver I had finished, which worked out a lot better. Once I had the rest of the stock and handle done, I messed around with the overall topology, because it was still messy around the handle.

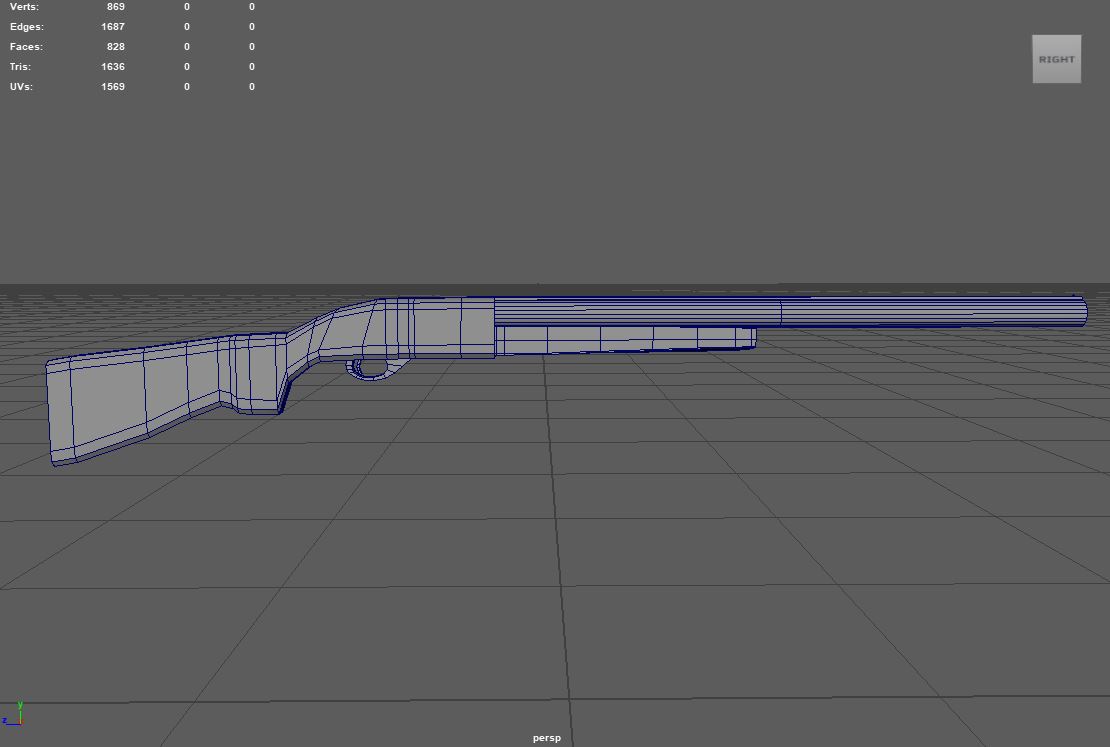
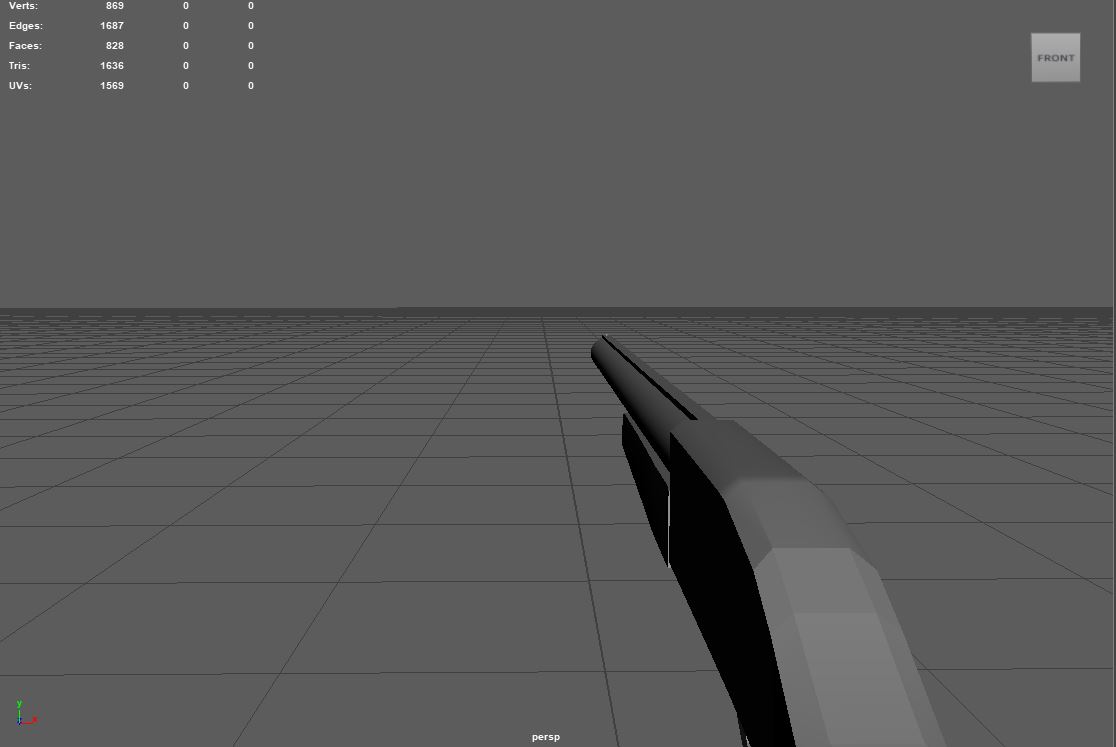
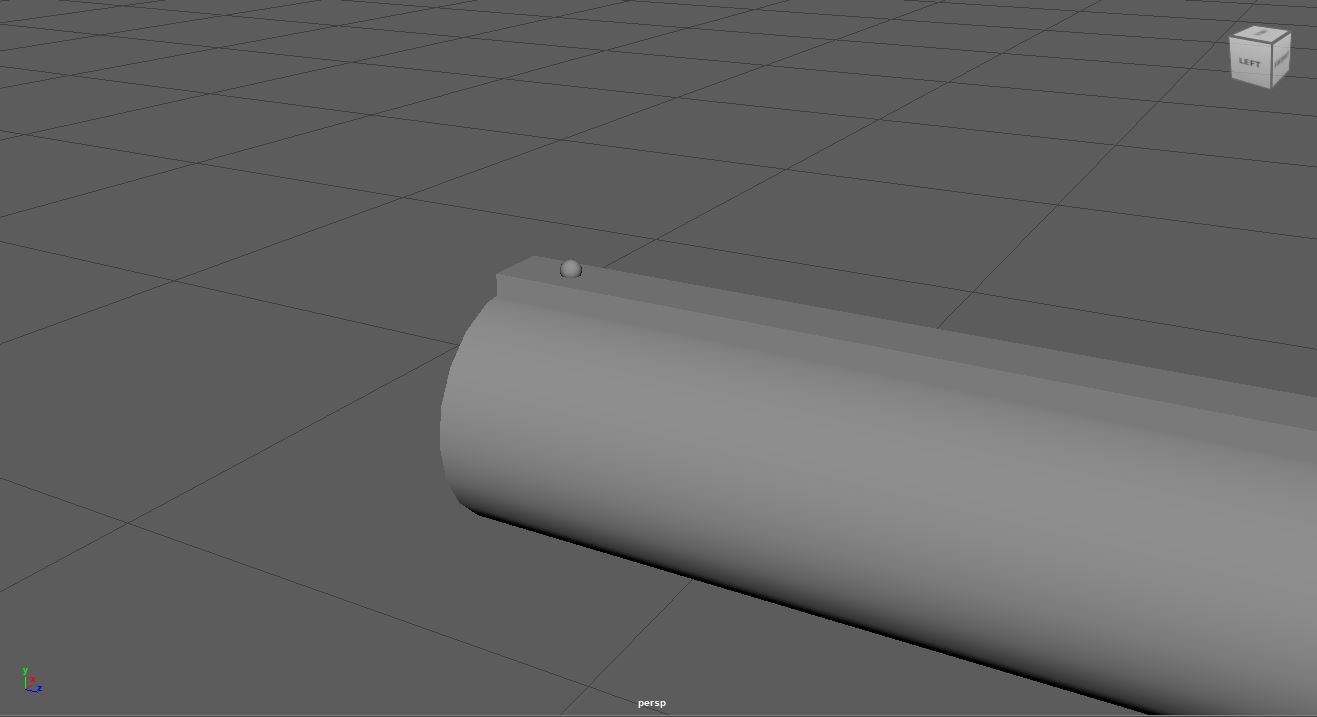
After I got the receiver and stock done, the rest was simple. I added the barrel and the sight, removing the unnecessary faces from the inside of the barrel. The sight was also something that I specifically wanted, just a simple bead, nothing special or fancy. The forward handle was just a modified cube, no interesting techniques used there. I had initially wanted to add more details, but I didn’t really have the time, and some of the detail wouldn’t even be seen by the player, so what was the point?
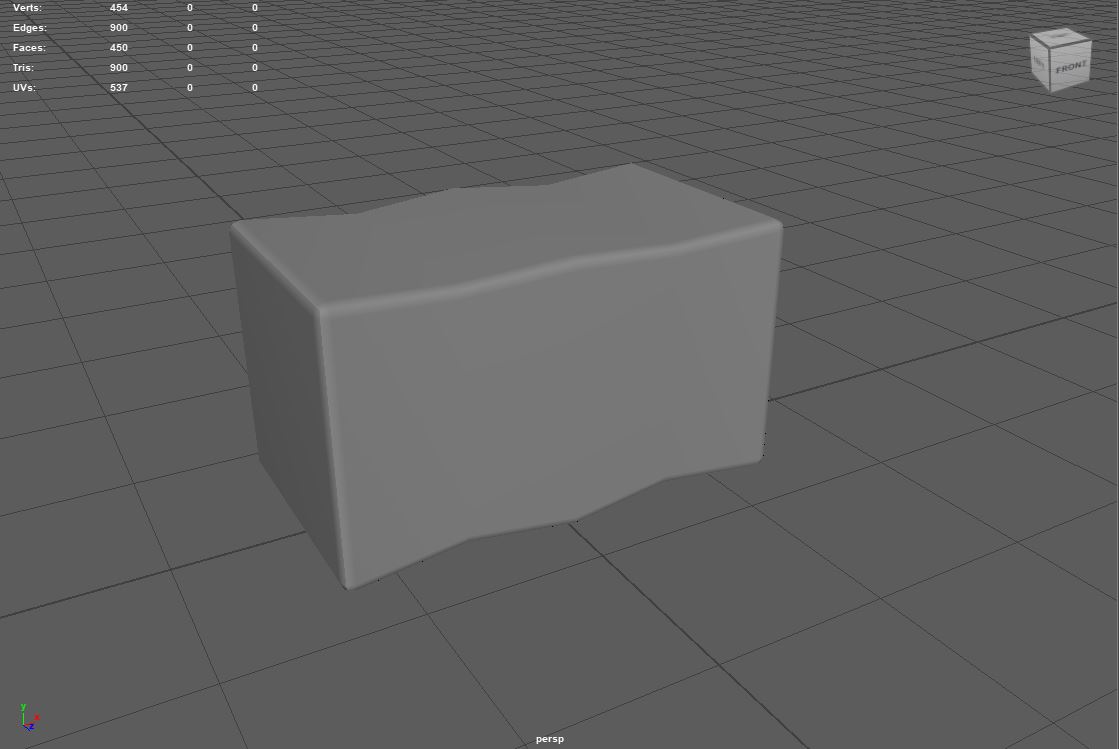
The next thing I worked on was a couple of smaller props, a haystack and a pumpkin. The haystack was what I did first, and it was simple. I just modified a cube, relying on the texture to really make it look like a haystack.
The pumpkin was next, and I wasn’t sure what I would do at first. I have some experience with pumpkins in the past, I’ve 3D scanned one before, so I had a good idea about the overall shape. I started with a cylinder, I wasn’t sure it was going to work, but I knew a cylinder was close to the overall silhouette. I moved the top and bottom edge loops in, then tried extruding the side faces out to try and replicate the seams that pumpkins have on the sides. I wasn’t sure if that would work at first, but after trying it out, it really seemed to and I was very happy with it. Then I added the stem, and I ended up very happy with it.

Leave a comment
Log in with itch.io to leave a comment.